Zola beginner's quickstart
This step-by-step tutorial targets people who never used Zola. If you are already experimented with it, refer to the cheatsheet (TODO).
Wether you like Rust and SSG or you do not know any of these, if you wish to create a website or a blog, Zola is made for you ! We are going to discover here the basic concepts of Zola. For more advanced options, please refer to the documentation.
Once Zola installed, create a site by entering the following in a terminal:
$ zola init quicksite
lets answer the interactive question as follows in order to init the config.toml file:
Welcome to Zola!
> What is the URL of your site? (https://example.com): http://example.com
> Do you want to enable Sass compilation? [Y/n]: Y
> Do you want to enable syntax highlighting? [y/N]: N
> Do you want to build a search index of the content? [y/N]: N
10 milliseconds later, we should get a folder with the following architecture:
$ tree quicksite/
quicksite/
├── config.toml
├── content
├── sass
├── static
├── templates
└── themes
in this folder, lets enter:
$ zola serve
and look at http://127.0.0.1:1111/ in our browser.
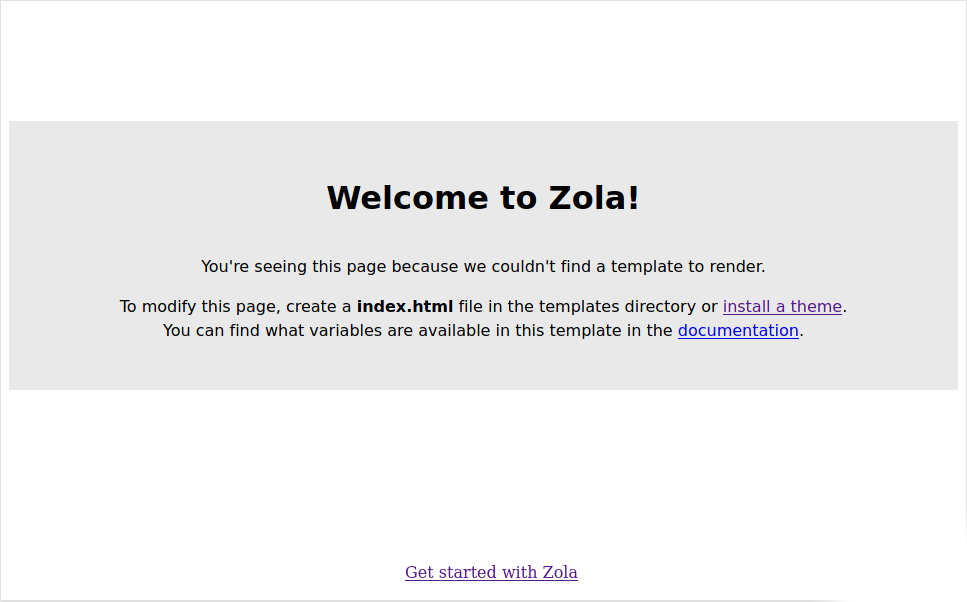
As mentioned, we can install a theme (skip directly to the "content" section), or create it ourselves.
First theme
Creating a theme is
Creating a theme is almost as easy as writing a site by hand. Moreover, it allows you to understand how Zola works. If you are in a hurry, you can also install the theme of this tutorial and review it. A default theme is planned, but is not yet available.
Lets create the index.html page in the templates folder.
<!doctype html>
<html lang="fr">
<head>
    <meta charset="utf-8"/>
    <title>Quicksite</title>
</head>
<body>
	<h1>Welcome</h1>
	<p>Hello world!</p>
</body>
</html>
the page opened in our browser refreshes itself and we see our "hello world" page appear
Rather than writing the site content directly into the theme, which is like making a site by hand without Zola, we will use the template engine to fill the site with variables.
Site name
First, to be able to change the name of the site easily, let's add a variable in the [extra] section of the config.toml file
[extra]
# Put all your custom variables here
site_name = "Quickstart site"
to use this variable, let's replace the title line in our index.html.
<title>{{ config.extra.site_name | upper }}</title>
In this line, we used the variable declared above and applied a filter to it.
Markdown content
Whether you are writing a website or a blog, it is always good to be able to manage content independently of the theme. Here, we will write content in [Markdown] (https://daringfireball.net/projects/markdown/). First, let's create a welcome text for our site in a _index.md file in the content folder
+++
title = "Welcome, you"
+++
Hello my world!
and change the index.html file to handle this content.
<body>
	<h1>{{ section.title }}</h1>
	<p>{{ section.content | safe }}</p>
</body>
The page reloads, and we see the content of _index.md displayed via the theme index.html! We have separated the theme and content. Note two things: the name used for the markdown file, and the name of the variable used to access the data. To understand this, we need to explain the content structure of Zola.
Content structure
The architecture of a site in Zola can resemble this:
.
└── content
    ├── _index.md				# https://example.com/
    ├── blog
    │   ├── _index.md			# https://example.com/blog/
    │   ├── hello-world.md 		# https://example.com/blog/hello-world/
    │   ├── my-first-post.md 	# https://example.com/blog/my-first-post/
    │   └── zola-is-great.md	# https://example.com/blog/zola-is-great/
    │
    ├── wiki
    │   ├── _index.md			# https://example.com/wiki/
    │   ├── how-to-build.md 	# https://example.com/wiki/how-to-build/
    │   ├── deploy-advice.md	# https://example.com/wiki/deploy-advice/
    │   └── contrib-guide.md	# https://example.com/wiki/contrib-guide/
    │
    ├── about.md				# https://example.com/about/
    ├── contact.md				# https://example.com/contact/
    └── cv.md					# https://example.com/cv/
All .md files are "pages" except for _index.md files which are "sections". These two objects just differ in the variables accepted in their header, the section in TOML format delimited by ++++ at the top of the file.
Page front-matter
For more details, please refer to the dedicated documentation.
title = ""
description = ""
date =
weight = 0
draft = false
slug = ""
path = ""
aliases = []
in_search_index = true
template = "page.html"

[taxonomies]
tags = ["rust", "web"]

[extra]
Section front-matter
For more details, please refer to the dedicated documentation.
title = ""
description = ""
sort_by = "none"
weight = 0
template = "section.html"
page_template =
paginate_by = 0
paginate_path = "page"
insert_anchor_links = "none"
in_search_index = true
render = true
redirect_to = ""
transparent = false
aliases = []

[extra]
Expandable template
The interest of a template is to maximize code reuse. Let's discover how to use the basic features in a simple example.
index.html
<!doctype html>
<html lang="fr">
<head>
    <meta charset="utf-8"/>
    <title>{{ config.extra.site_name | upper }}</title>
</head>
<body>
	{% include "nav.html" %}
	{% block content %}{% endblock content %}
</body>
</html>
We discover here the include tag which allows to include another template and the block tag which allows to declare a block which will be replaced by the templates which derive from it.
nav.html
<nav>
  <ul>
    <li> <a href="{{ get_url(path="@/_index.md") }}"> Home </a> </li>
    <li> <a href="{{ get_url(path="@/contact.md") }}"> Contact </a> </li>
    <li> <a href="{{ get_url(path="@/about.md") }}"> About </a> </li>
  </ul>
</nav>
We discover here the get_url function which allows to obtain the URL of a page in the site, and the notation @/file which allows to make an internal link to a page of the site.
page.html
{% extends "index.html" %}

{% block content %}
  <h1>{{ page.title }}</h1>
  <p>{{ page.content | safe }}</p>
{% endblock content %}
We discover here the `extends' tag which allows to derive from an existing template to replace one or more blocks.
section.html
{% extends "index.html" %}

{% block content %}
  <h1>{{ section.title }}</h1>
  <p>{{ section.content | safe }}</p>
  <p>Pages in section</p>
  <ul>
  {% for page in section.pages | reverse %}
      <li>
        <em> <a href="{{ page.permalink }}"> {{ page.title }} </a> </em>
        <span>{{ page.date | date(format="%Y-%m-%d") }}</span>
      </li>
  {% endfor %}
  </ul>

{% endblock content %}
We discover here the for tag which allows to make a loop in a list of elements and filters like date which can take arguments.
contact.md
+++
title = "contact"
date = 2019-09-25

+++
Contact me at ...
Here we discover an additional metadata indicating the date of the page.
about.md
+++
title = "about"
date = 2019-09-25
+++

This site has been made with :

- Zola
- Sass
- TOML
Here we discover a Markdown list that will be rendered as an HTML list.
A bit of colour
Sass is a kind of css without punctuation of type {, ; and a variable management. It is used by many css frameworks. If you don't want to use it, you can of course write css files directly and jump to the next section.
SASS
Let's enjoy a very nice feature of Zola: the Sass compilation. Let's add the line
<link rel="stylesheet" href="{{ get_url(path="extra.css") }}"/>
in the head of our index.html and add the file extra.sass to the root of our sass folder.
$bg: #111
$cl: #0f0

nav ul li
  display: inline-block
  margin-left: 10px
  border: solid 1px #666

body
  color: $cl
  background-color: $bg

a
  color: #a5a
CSS
To add css to our theme, we just need to add the line
<link rel="stylesheet" href="{{ get_url(path="extra.css") }}"/>
in the head of our index.html and add the file extra.css to the root of our static folder.
nav ul li{
  display: inline-block;
  margin-left: 10px;
  border: solid 1px #666;
}

body {
  color: #0f0;
  background-color: #111;
}

a{
  color: #a5a;
}
For the future
In this short tutorial we have introduced some of Zola's key concepts. You can now read the documentation for more details or create your site right away thanks to Zola!